Leaderboard
Popular Content
Showing content with the highest reputation since 09/20/11 in all areas
-
Hi, I see that most of you that responded to my Warning Points post think that I give good information in trying to help you out, but disagree with the way I come off in answering posts sometimes. O.K. I will try and be more compassionate when responding to posts as I hope others will be towards me. Thanks, Bill9 points
-
http://i.imgur.com/ugqEBQl.jpg http://i.imgur.com/KFXH3NF.jpg I think they're cool. Can't wait to see them on the car!8 points
-
It's been 2 years since we closed our shop. Many people continued to ask me about parts so Diane and I started Dads Engine Parts LLC we went online today. link below. Dad Dads Engine Parts Llc.7 points
-
me eather 23 like'd out of 37k posts waste of space7 points
-
So this is a project 13 years in the waiting ... but I finally took to it this past week. At purchase, my car had a perfect rear cargo cover, which I was excited about b/c in all the other Quest sI had owned they were damaged. It was short-lived, b/c one month later a tree fell on my car, crushing the roof, hatch, ... and busting up my rear cargo cover. Well, that was 13 years ago already, so here's how I finally rebuilt it: Obviously remove the cover. You can see where the branches of the tree punctured the cover. I'm only repairing the lower section, but these steps could apply to rebuilding the whole thing if you needed to replace the fiberboard on the top section too. I started by peeling back the carpet on the left and right sides. Next, I flipped the cover over and peeled the carpet back. Oh look, all these years later still finding glass from the tree incident .... lol. Next, you'll need to drill out the rivets on the black hinge with a 3/16" bit. Once all the rivets are drilled out you'll have the hinge free. It still won't be free just yet though. Flip the cover back over and you'll find there's a material strip stapled to the cover. Grab your needle nose and pull the staples. Then the fiberboard material will finally be free. I had a scrap piece of 1/8 inch masonite laying around from a home project. It was just big enough to use a replacement piece. I simply used a sharpie and traced the outline on the masonite. These piece had some spray paint on it from other project, but I didn't care b/c I was going to be painting it black anyway. Next, use the hinge and mark the holes for the rivets. Not shown, but next I drill the holes and cut it out the shape on a bandsaw. I used some sandpaper on the edges quick just to smooth it over, but I didn't go crazy b/c there's no exposed edges of material, it's all covered by carpet. Now I threw some paint on. I quickly realized the black on the underside of the top section was not going to match anymore, so I tossed a coat of fresh black on the underside of that too so it all looked uniform. Now it's time to go back the other way. To reattach the carpet I purchased some Gorilla spray adhesive. I've also used 3M Super 77 for projects like this, and that works really well too, FYI. Don't start spraying things just yet though .... BEFORE you spray adhesive the carpet and put the board back on, you need to put screws through the holes you drilled b/c you won't be able to access them once it's adhered to the carpet. I just used simple machine screws to replace the rivets. Flip it over carefully so your screws don't fall out. Once you do that, spray the board and the back of the carpet and let it dry for a few seconds before putting it down. I quickly dropped on washers and loosely threaded nuts on the screws. Once the carpet is adhered well you can flip it upside down again and roll the remaining edges over. Spray everything down with adhesive and it'll stick nice. Lastly, re-attach the rubber gasket on the rear edge. It just presses on. Here it is re-installed in the car. Much better. Good luck. It's a pretty easy little project. You can do it.6 points
-
6 points
-
You should make an SQ one that smells like broken dreams.6 points
-
go to bed.... check wake up december 22..... check go about normal life..... check laugh at the dumb people who panicked.... check yeah, i can predict the future, thats what im doing6 points
-
Happy new year my friends, To thank all our loyal customers for another great year there will be free shipping on orders over $100.00 of Starquestparts. This goes for the entire site from bearings to cylinder heads. This runs from Jan 1- 2025 to Jan 15th- 2025 so get your list ready!. http://www.dadsengineparts.com Thank you! Dad5 points
-
Breaking news Mitsubishi will be trying to reboot their brand by bringing back the starion and 3000gt as a pickup and minivan, respectively5 points
-
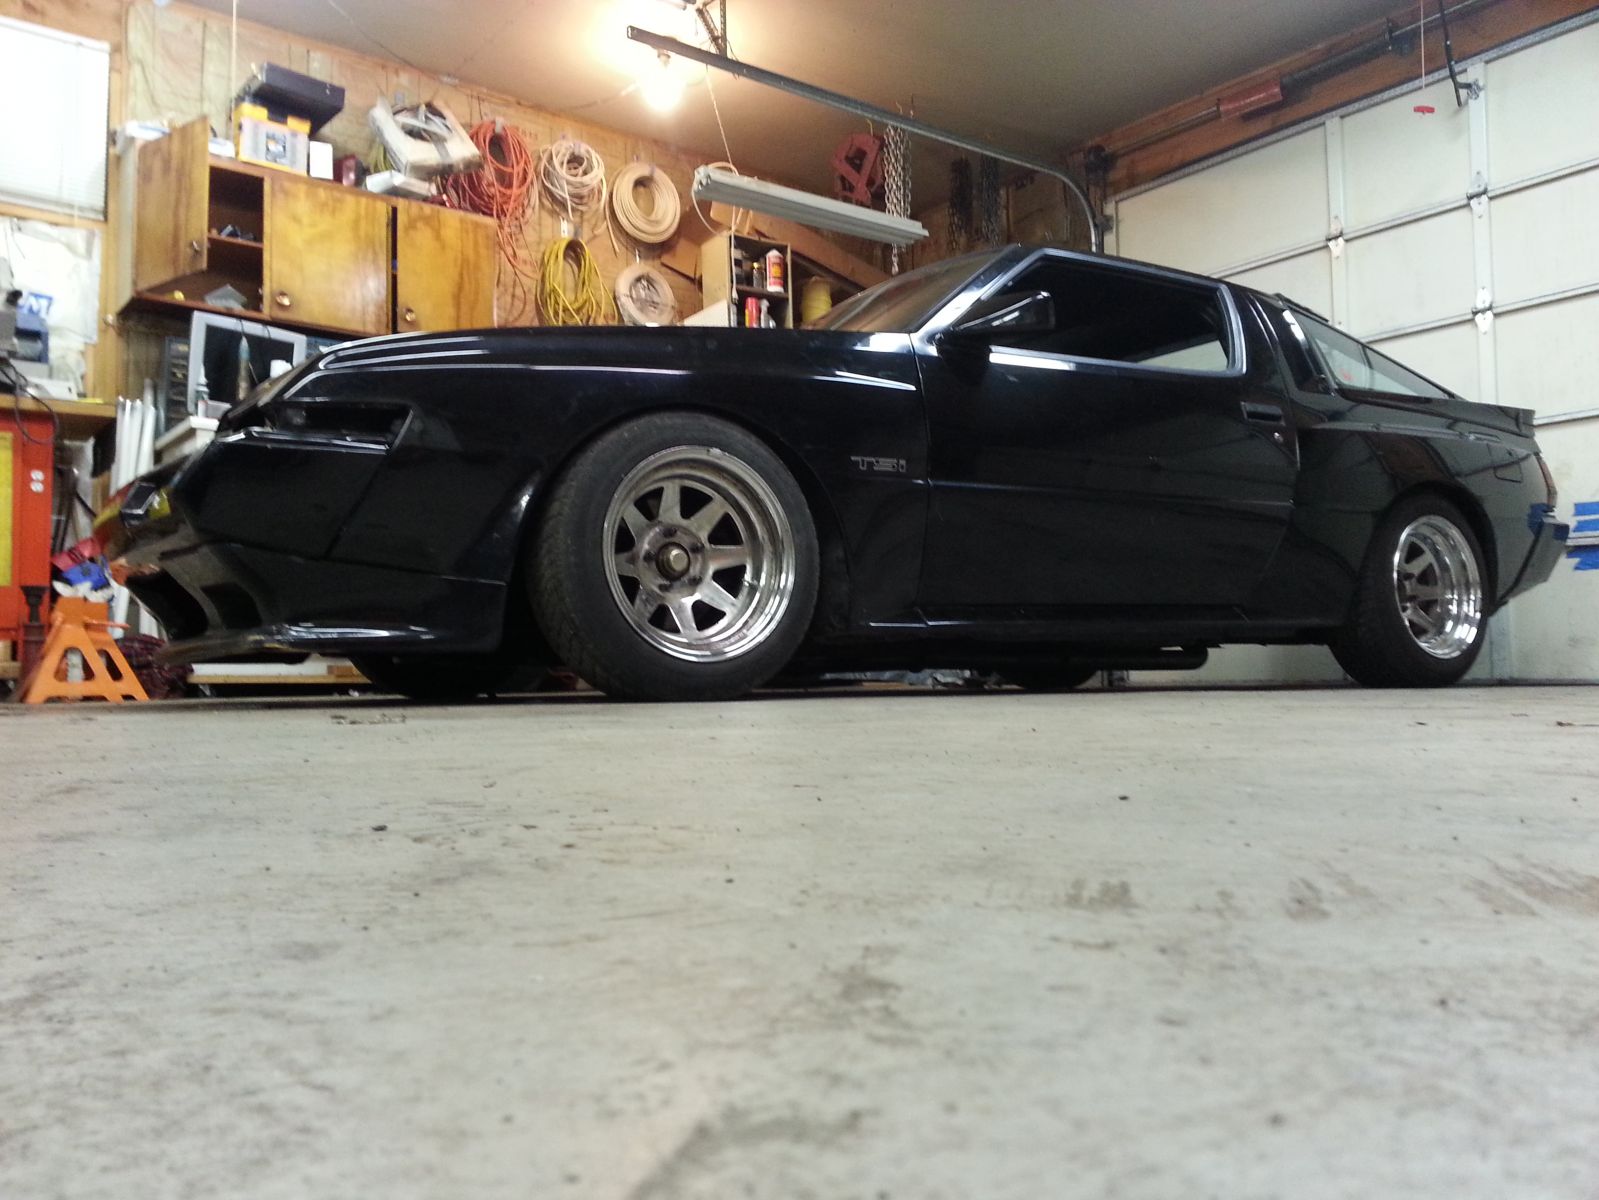
So as most of you know I've been killing myself to get my car ready for the race last weekend ( Ultimate Street Car Association/ Optima Batteries Qualifier @ Auto Club Speedway in Fontana) Long story short the hard work payed in full. The car was extremely competitive the whole weekend winning most events in all classes, let alone the gt2k (under 3k lbs class) The wider track, better tires and overall look of the car took it home. I beat the living hell out of it like always and it took it in strides. Couldn't be happier with her. Finally I got my ticket back to SEMA for another shot at the title of the Ultimate Street Car. Took first in all events except for the auto x by .3 secs to a nascar framed pickup (No Limit Racing C10) MONSTER haha There are 6 qualifier events left throughout the country, I GUARANTY you will have the most fun you've ever had in your car. Visit www.ultimatestreetcarassociation.com for the list. SIGN UP! On to pics. Video soon, got some editing to do. Thank you to all who have posted in the "going wider" thread, you guys really keep me motivated to continue pushing. I received TONS of coverage, TV, websites and prolly a few magazines in the process. The value of our cars is on the rise! http://i177.photobucket.com/albums/w239/johnboy9788/DSC_3397_zpsbb1f43fd.jpg http://i177.photobucket.com/albums/w239/johnboy9788/DSC_3420_zpsc3eab0d4.jpg http://i177.photobucket.com/albums/w239/johnboy9788/DSC_3432_zps02ba9ada.jpg http://i177.photobucket.com/albums/w239/johnboy9788/DSC_3447_zpse81c4053.jpg http://i177.photobucket.com/albums/w239/johnboy9788/DSC_3488_zps97d9afd6.jpg http://i177.photobucket.com/albums/w239/johnboy9788/DSC_3440_zpsc0b1fb67.jpg http://i177.photobucket.com/albums/w239/johnboy9788/DSC_3459_zps3f828a21.jpg http://i177.photobucket.com/albums/w239/johnboy9788/DSC_3527_zps26a3e741.jpg5 points
-
Great fitting Silicone vacuum lines, fits 4.0 and 4.5mm ports on Conquest and Starion, nice snug fit. $1.25 a foot. http://www.dadsengineparts.com4 points
-
Hello all...It's been a long time since I've been here. I apologize for my absence, but life took a turn and I had to focus on other things. I've had several texts, calls, and emails over the years. It's been great to hear from some of you. We just bought our first house, and while going through boxes and such, came upon one of the calendars I did for the club. A lot of good memories came rushing back, so decided to log on and see what's what. I hope the SQ community is still going strong. Give a shout and say hi. Cheers, Nick4 points
-
I have had rear differential gaskets reproduced for the Starquests, I also stock the axle seals and front pinion seals. You can get them at my site http://www.dadsengineparts.com Well I tried uploading a picture 48kb in size and get a message I can only upload file no more than 53.7 kb ?????4 points
-
The Diagram file:///C:\Users\Jimmy\AppData\Local\Temp\msohtmlclip1\01\clip_image001.jpg The list of ports (22 in all) 1. Vacuum Retard Diaphram (directly on top of the distributor) 2. Top Port on the TB, right where the OVCP meets the TB 3. Secondary Air Cleaner Assembly (black box on the drivers side of the VC) 4. Thermo Valve (2 ports) 5. EGR (3 ports) 6. SACA Solenoids (5 ports) 7. Main Vacuum source (3 ports) 8. Bottom port, this feeds the vac storage, cruise, and runs to the vac pump in front 9. Vacuum Storage (not pictured), mounted to the side of the shock tower 10. Cruise Control (not pictured), mounted to the front of the shock tower 11. Vacuum pump (not pictured), mounted right beside the drivers headlight 12. Purge Control Valve (2 ports), directly under the aircan Now, depending on what you're wanting to do with your car, your position on the environment, and whether or not you need a smog test to get a state inspection, it's possible to remove some of the vacuum lines and clean up the engine bay a LOT. For a pure race car you'd probably just need 1 stock line (slightly relocated), that'd be a line running from the top of the TB (labeled #2), to the Vacuum Retard Diaphram (labeled #1), this is the only line that is an absolute necessity. However, if you want, for example, your inside head & foot vents to work properly, you'll need to keep the line running from the bottom of the TB (labeled #8 ) going to the Vacuum Storage canister (labeled #9) (+ the single, small vacuum line running from it's nearest "T" into the firewall [not pictured or labeled]). Since this comes up frequently I'll address it here, the vac port you use for a BOV is labeled Main Vacuum Source (#7), you'll use the one closest to the firewall if you're looking at it from the drivers side fender. If you need a smog test to pass a state inspection you'll probably need to keep everything, each vacuum assisted item has its place. If you've removed the catalytic converters you won't be needing the Secondary Air Cleaner Assembly (labeled #3), it supplies fresh air to the catalysts.4 points
-
They are set up for production. Modeled in CAD with CNC machined fixtures and all parts are CNC machined for perfect repeatable fitment.4 points
-
Lot of stuff has been added to the site https://www.enginemachineservice.com/ems/index.php4 points
-
I always got projects going on .. winter and every other season in between ... 😁 Some of you who have been around for a while will remember StarquestJoe, I purchased a Galant VR4 he had sitting in his backyard after a few years of asking him about it. My son was 10 at the time, and my thought was if we started restoration on it we could maybe be done by the time he was 16. So we have been working on that for the past 3 years. So far, most of the work has been just building the motor. We had to tear everything down, send it all out to be machined and cleaned and then put everything back together. In the meantime, the car has been in storage at my father-in-laws shop. At this point the motor is pretty much finished ready to go, so it's time to bring the physical car home and start working that. I want to go over the brakes, suspension and drop the gas tank and see what's going on there. That will be our winter project. To get started though I have to find a storage place to keep my Eclipse. I have a few leads on some garages, but it's been tough between work and weather to get the car dropped off and in storage. I have a 3 car garage, but I need to get rid of one car in order to bring his home and begin work on it. I hate to send the Starion out of my sight since I have so much into it, so Eclipse is the winter storage candidate. I've never stored a car before, and I'm finding it out it's not cheap. I have a fully detailed thread going on on DSM Tuners of the VR4 resto you can click through when you're bored here: Galant VR4 Restoration Here's a few pics though just to give you the idea. Thus far, I've enjoyed this project more than any other I've done in the last 25 years. Teaching my son and watching become passionate about the hobby and have his ideas and dreams has been really cool. This is what we started with. Supposedly Joe got this 4G63 from StarquestRescue, another name many of you will remember well. This a picture of the car the day after we picked it up and brought it back to the shop. The car itself has been and had been sitting for a while, so if it doesn't work out we can always buy a 1G, 2G or even another VR4 and drop our engine in. So we have options. It been a long road so far and the Eclipse and Station don't get as much attention right now, but this hopefully will worth it in the end.4 points
-
"TURBO" Door handles are tough to find, and they are tougher to find in decent shape. If you like the look, and want the look, here's a cheap and easy way to create it. First, start by removing your door handles. I won't go over how to do that here, but there are posts you can find. I'll try to link one up later. Next, you'll need a set of the "TURBO" stickers. They are available on eBay, or, you can have your own made. I had a graphic artist friend make these for me. I think the ones on eBay are about $5. If you've ever seen a "real" set of turbo handles, they are perfectly smooth. Conversely, the "standard" handles are textured. They have what I call a knurling on them. You need to carefully sand that off smooth. I used my palm sander and rotated through 150, 220 and some 400 by hand. When you're done, it should look like this. Once you are this far the "black" on the handles will be kinda dull and flat looking. We need to bring that back to a shine to have a look correct. For this I grabbed some buffing compound and a buffing wheel. After some polishing you should be able to get the handles to look like this. Now we can sticker them up. Do some measuring and get everything centered up. Peel back the covering ... and ... ta-da! $5 TURBO door handles. Last thing I did to these that I didn't show was a took a can of clear spray paint and just gave them a light coating a day later to help prevent the stickers from peeling up.4 points
-
4 points
-
I've been following about the development of these on IG as he's been posting about them. It's not for me, but I'm just glad someone out there is still developing stuff for this platform. I have more than a few Mookeeh parts on my car.4 points
-
I'm actually restoring a Galant VR4 right now with my son. We're about 2 years in.4 points
-
At the end of the last driving season, I noticed my antenna wasn't retracting all the way, so I figured it's time to dig in and see if we can fix this thing. First, you'll need to remove a few carpet panels in the rear trunk area. Once they are out of your way, you need to remove two nuts. The second one is under the rear deck support sheet metal. To get it out, you'll have to drop it down into the rear fender and snake the antenna part out first, It's a little tricky, but with some finagling you'll be able to sneak it out. Don't forget to remove the ground screw just below the upper nut too. Once you get it on your bench you can pop the on side off and you'll see all the gearing. On the other half you'll see the electrical connections. You can see there are contacts that ride on the metal surface as the gears spin. Clean up and re-lube the electrical side up with dielectric grease. That's all you need to do to that side. While you're at it, grab some White Lithium Grease too. If you don't have any make a trip to your local Auto Store. Give all the plastic gear a good cleaning, get all the dried up gunk off and re-coat everything with the White Lithium Grease. Next, flip the whole unit over and we'll move over to the mast. There is a plastic housing that has the retract tape inside. It's coiled in there like a snake in a can. Pop it off and will sorta burst out. Mine was nasty. It takes some time, but clean the tape entirely. I used Simple Green. Then re-lube the whole tape with a generous amount of White Lithium Grease. It's a bit tricky, but recoil it into the housing and put everything back together. Then reinstall in your car. Hold your breathe and give it shot. Here's a video link to mine working again! Starquest Rear Antenna Video4 points
-
Just a few months ago I created a YouTube video on how to rebuild your rear brakes and the e-brake mechanism. I posted a link to the video on the club, but I forget where I posted it. Either the BS section or the VR. I'll see if I can find the link for you. Also you can still buy brake rebuild kits at Rock Auto. They only cost a few bucks.4 points
-
What does ruing mean? Oh it must be the word used for making something faster more reliable and far better than your car .... Yeah that sounds right.4 points
-
I just like talking crap. Except for BOHO. Im 100% serious about the things I will do to his mouth! Most engines can suprise. Thats maybe what I like about the out dated, under powered, unsupported G54B. I was at a shop a day ago inquiring about using their dyno and when he asked what I had, I said, "just a crappy 4 banger" he laughed and said, "cant be that bad" he asked more and when I told him what it made and what it runs he laughed and said, thats better than 90% of the cars I see. talked about SRT-4's, Mustangs, Supras, 240's and other V8's. Then I told him it was a single stick 8 valve head and he laughed in amazement. All well built cars are cool as long as they are DIFFERENT.4 points
-
4 points
-
I told my wife to put my ashes in the trunk of the car, that way if she gets stuck in the snow she can use it for traction. Dad4 points
-
Stupid kids holding their iphone verticle to record video. I bet the hold their guns sideways too.4 points
-
damn you and all your space... to park stuff...or sit..or run around..or do whatthe*********ever you want. damn you!4 points
-
No one ever calls me. http://i1.kym-cdn.com/entries/icons/original/000/003/619/Untitled-1.jpg4 points
-
great, so even a chrysler engineer couldn't get it to run and gave up.4 points
-
In my case, 2 years living in Ohio. I used to live in Omaha back in my early years, so I am no stranger to what kind of havoc exposure to salted roads can do to a car, but up until now never had a timeline. when I bought the current CQ, the fact that it had lived the majority of its life in Arizona made me overlook the first 2 years it spent in hell. ( read that: Ohio) This is what’s left of the left rear quarter apron. This is the rough cut after removing the lower skirt on the driver’s side.. Annnndd..this is what had become of the wheel well lip, all of which was filled full of body putty in an attempt to hide this mess. Ordinarily, this woulda/shoulda been on the passenger side of the car, due to its constant exposure of curb slush, but the passenger side of the car was “normal”. The tale of the tape best I can see/tell was that the car sustained a small amount of front quarter panel damage that caused a separation of the inner wheel tub from the outer quarter panel, and dude drove it through a couple of winters in Ohio that way. And give Ohio, Nebraska, Michigan, Indiana, or any other rust belt state two whole years to leave crud somewhere where a pressure washer will never get to it… Sweet home Alabama. fortunately for me is that I have modest metal fab skills, I feel confident that I can fix this….repair pics to follow.3 points
-
I keep obsessing over nit-picky little details, but aside from some fuel lines, this thing is just about ready to get put in place. The PCV is overly complicated. Whether or not it’ll actually make a difference, there are two separate systems,…. One for boost, and one for vacuum. When the engine is in boost, a 12v valve will open and let any excess crankcase blow by out through a -10 at the back of the valve cover that is routed to the big puke tank up front. During normal operation, the 12v valve is closed and a second pcv valve will allow air to move through the crankcase into the intake plenum after it get passed through an oil separator mounted on the opposite side. It sounds logical to me, we’ll see how it works. Im especially proud of my home made LS coil pack mount that will hang where the P.S. pump used to be. I didn’t want them on the valve cover, and this was the only place to put the things.3 points
-
After a lot of thinking, I've decided against selling. My two kids said that I can't sell my "race car"3 points
-
Hi I thought to share a couple of pictures I just took.. I got the fuel problem fixed... need to work on the ISC and TPS.... thanks for all your help...3 points
-
There was one oversight on my part when I got this interior ... I could have just painted it black and called it a day, but, I really would like to switch back to the tan someday, so I didn't really want to do that. Was able to get my hands on a black set. Had to pull the drivers seat and the door sill again to get to the levers. It's held in by two 10mm with the JIS screw heads. I have a JIS screwdriver and the one still stripped trying to get it out, so I replaced them with standard 10mm bolt heads. Was a little bit of work for simple thing, but much better. 😁3 points
-
Hi Ya'll, Well I completed a cross country trip from Oakland Oregon to Nashville Tennessee in my car. 2600 miles. I managed to do it in 3 days. I stopped in Idaho and in Nebraska to stay the night. The car performed flawlessly. In fact it did not use any oil the entire trip. I had the oil changed the day before I left and after all those miles...still same amount. The car got pretty warm in Idaho but all the fans worked flawlessly and there was never any problem. I will say that the seat was not so comfortable for all those miles. Well I am living now in Nashville area.. wonder if there are any other members in this area.... ? Send me a message if you live near here maybe we meet up some time... Fionnbharre3 points
-
Funny to be a newbie again with 9k posts...lol As FB and so on is getting more spam than a Hawaiian bbq I think SQC needs to make a comeback. I'm an long time quester if you guys need help with basic questions to get your cars reliable, let me know.3 points
-
Thought I'd post about this. Recently I had a shop try to do an alignment on my quest. Unfortunately, in an effort to fix the toe in the back, the monkeys ended up forcing the bolt over the edges of the rear subframe, bending the hell out of the cam bolt. They bent/ground it so bad I couldn't save it with a hammer. To replace it, I tried calling Mitsu dealers and even hitting up Amayama; no dice. At this point, I decided to get creative to see if I could find something off of another car that could fit. Lo and behold, I did find something. Another vintage Mitsubishi, you may ask? Perhaps some obscure 90's Hyundai whose parts availability is also on borrowed time? Nope, a current generation (specifically 2020) Toyota Rav4 AWD. "Toe adjustment cam sub-assembly" part number 48409-06010: "Camber adjustment cam" part number 48198-07010: Now obviously the little line marks on the cams don't match up to the originals, but anyone performing an alignment in the new millennia is using an alignment rack that spits out fancy numbers in real time, so they aren't needed anyway. For the record, the reason I chose the Rav4 AWD is because one of my coworkers had one I could match up the bolt to. If the bolt is actually different on the non-AWD models, I'm sure it'll fit fine as well.3 points
-
** For anyone viewing this Resto Thread there is about 6 years of posts and conversation missing. I have all the pics still, so I may try to rebuild it, maybe not. Of course it will be missing all the real-time replies and conversation. For now, I will at least start at the beginning and work my way through re-linking all the broken pictures so that what's here is viewable. UPDATE 8/17 - All previous posts pic links have been re-linked. Posts from this point forward will be all reconstruction.3 points
-
http://i223.photobucket.com/albums/dd23/19cturbo/MY%20CAR/mikiescar1_zpsd503a99f.jpg3 points
-
My shetland is bone stock cept for clutch fan, egr delete, and secondary air can delete, All can be reversed, no wires spliced, only paint redo was front airdam and rear bumper, 78 on clock, air/ cruse factory radio work just fine, will be driving it to pF for 3rd time shortly, Rebuilt engine also. Only way i would get rid of it is an offer close to 10k hard to find another that is unmolested. Good luck with your search! http://www.enginemachineservice.com/shetland.jpg3 points
-
You mean Pickles could have turned his fans on in case the tech had to run the car??? wow. go figure, he drives in a construction zone, hits bumps, blames the contractor- I'm sure he was the only car that went there at 2:30 pm. Then has the front end checked and the shop is gonna pay for his head gasket job. Lucky sob is all i can say. Sure can manipulate the peeps.3 points
-
Happy Veterans Day to my past and current brethren. Take some time off Drink a beer and revel In the glory of all that you have bled for.3 points
-
When will people open their eyes to the fact that we only invade countries to plunder their natural resources and give the rebuilding contracts to close associates. It has ZERO to do with anything remotely humanitarian. George Bush should be held accountable for what he has done to this country and this world. He is a lying, self-serving weasel and unfortunately only one name on a long list. They don't give two craps about us, why the heck would they care about someone halfway across the world.3 points
-
3 points
-
I thought thats what he was saying...I wanted him to say it again so I could tell him he was retarded...3 points
-
3 points
-
Welcome to StarQuestClub.com!! Please orient yourself with the Site Policy and be sure to follow it. If you have any questions about the policy or membership, you can PM (Send a Private Message) to a moderator (The Moderating Team). In order to get you started here at StarQuestClub, we have created the newbie section. New members are limited in posting in other sections until 10 posts, because posting in the newbie section is encouraged. Just follow these three easy steps: 1. The first thing you should do is create an introduction thread to say hello (yes, it's you we're looking for) so we can welcome you. Be sure to post pictures of your car if you have them so that we may enjoy it too. Add yourself to the Member Locator Map as well. 2. The second thing you should do is download the FSM (Factory Service Manual) and familiarize yourself with it as well as the location of other pertinent information, such as the FAQ's (Frequently Asked Questions), "pinned" at the top of the Newbie Q&A forum section. 3. The third thing you should know is we are here to help you, but please be respectful of the members here by searching first to see if your question has already been asked/answered. Members devote their time and knowledge for free to you, to help you keep your car on the road. A keyword search should be done first before posting a new question. *Click here to start a keyword search* -Robert3 points

