-
Images

- 9 replies
- 1542 views
- Add Reply
- 2 replies
- 1355 views
- Add Reply
- 7 replies
- 1078 views
- Add Reply
- 2 replies
- 1170 views
- Add Reply
What car projects did you get to over the Xmas break?

By kev,

So, what car projects did you get to over the past week?
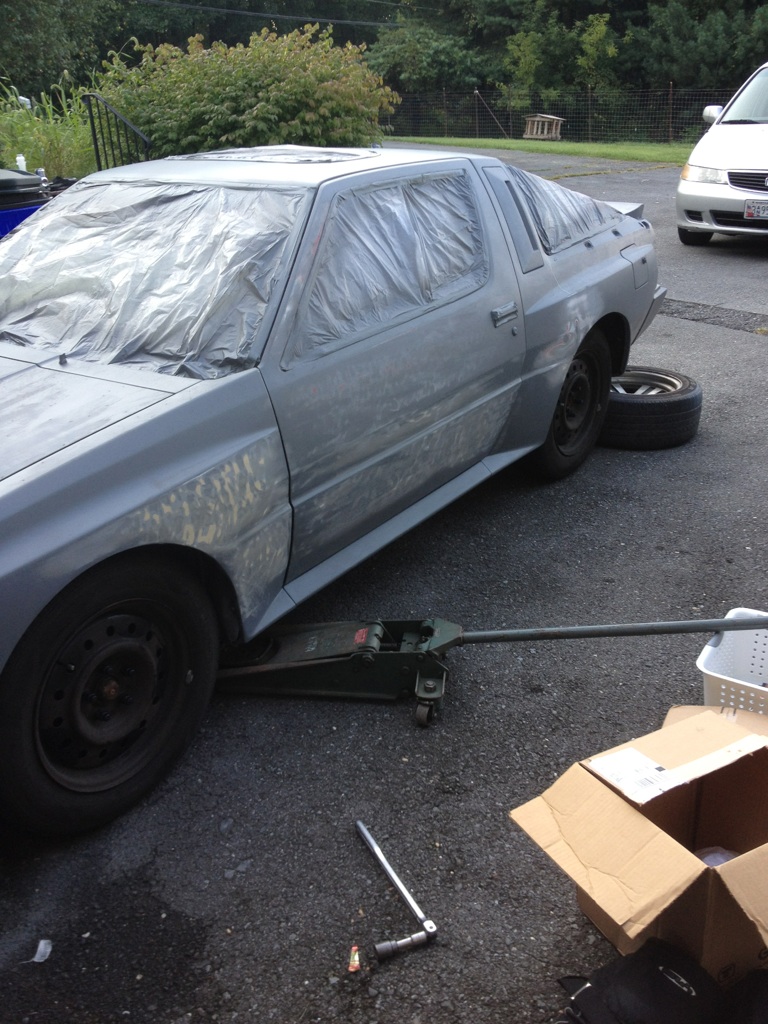
This was the first year in my career, ~24 years, that I had to work between Xmas and New Years. That sucked but still was able to get into the garage. Unfortunately, I didn't get a chance to work on either of my quests despite my kids getting me a set of Motocam360 hood struts for my blue car. But I spent this past weekend helping my son put a new convertible top on his Miata. Let me tell you, that was some ordeal! I'm not su
eBay: OEM thermovalve (hard to find part)

By TexasQuest,
83-89 Starion / Conquest EGR Thermo Valve (new OEM) | eBay
Happy New Year!
By TexasQuest,
Happy New Year fellow starquesters. May your projects and builds be a blessing for y'all this year.
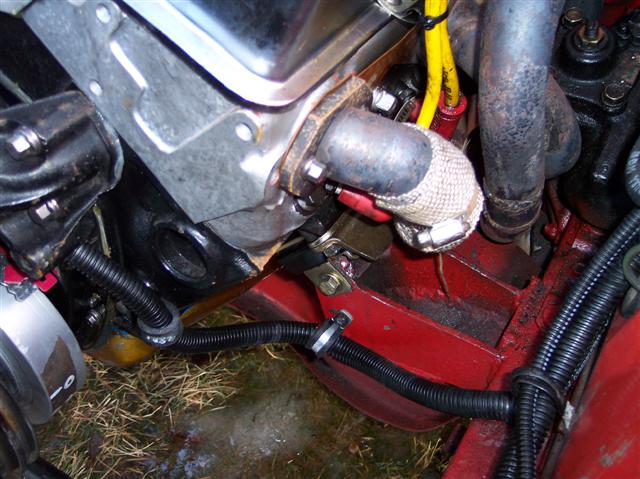
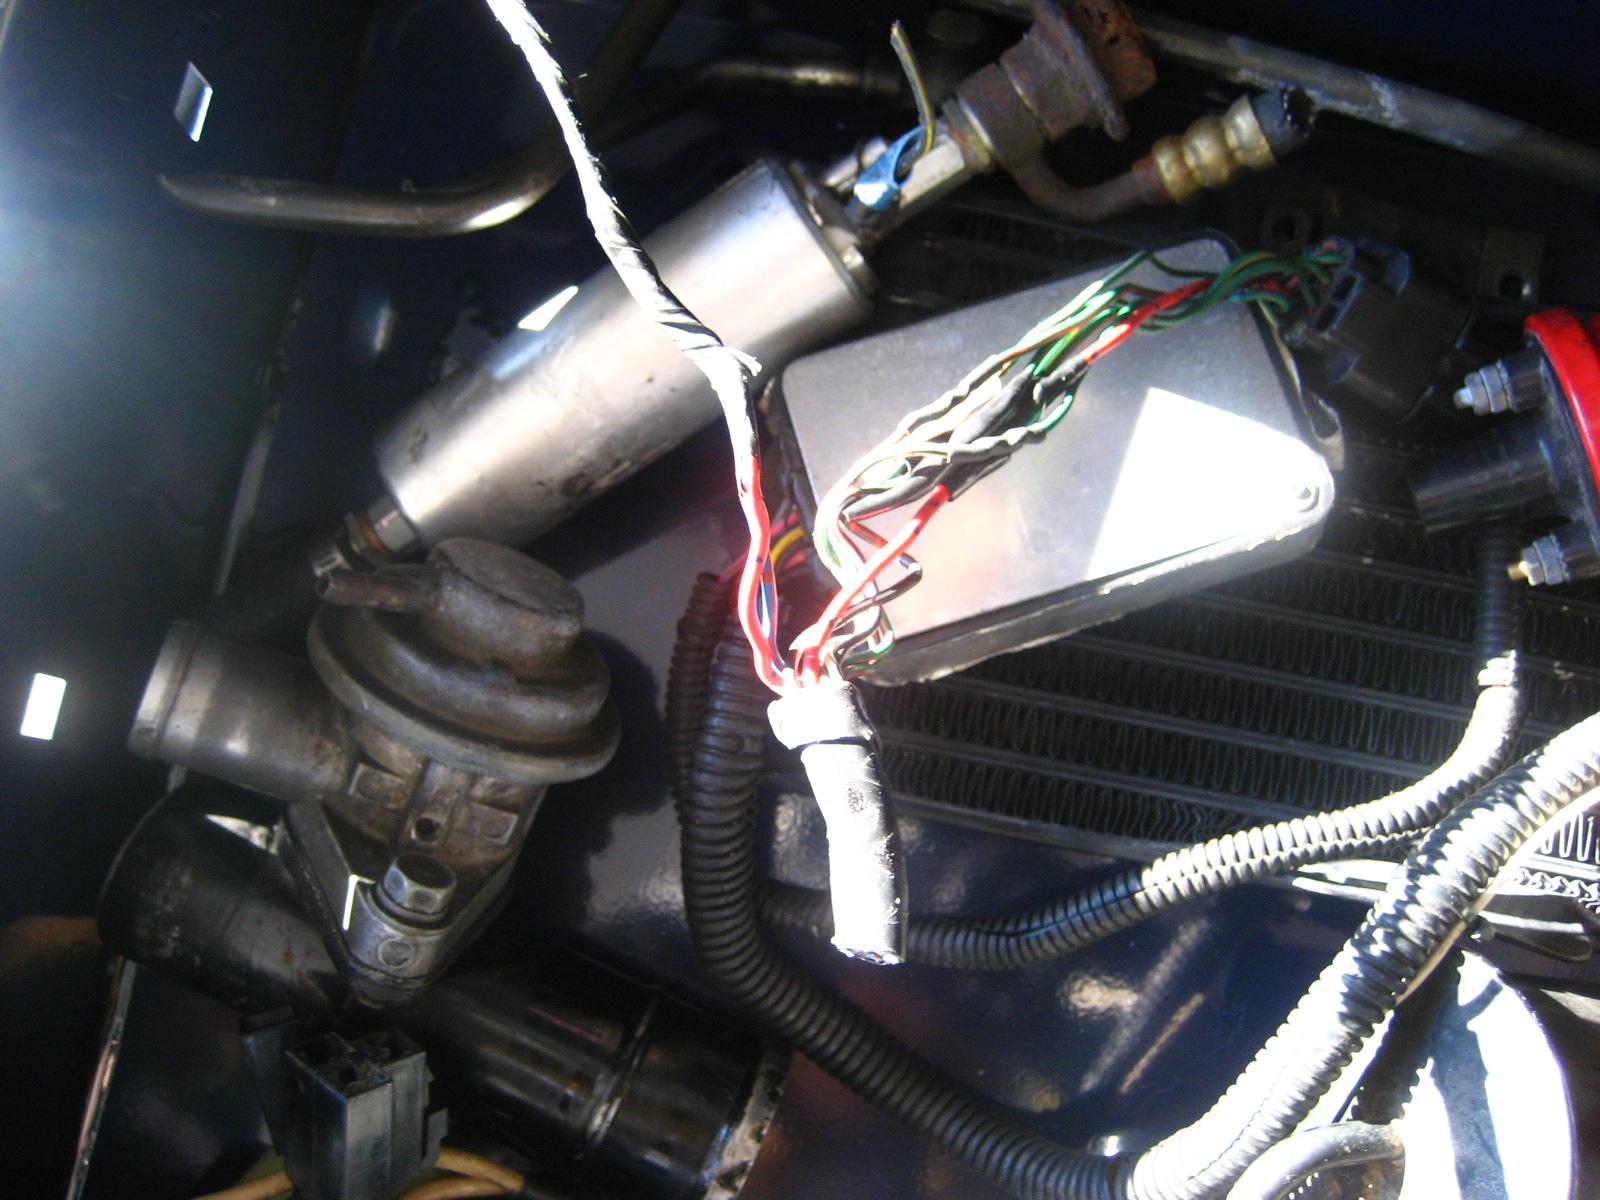
BOV and Vaccum Lines

By jeffball610,
I've been searching through posts to try and find decent info. Being these forums are so old, it's tough to find things. I've decided to install an upper intercooler pipe and BOV to extend the life of my components until I get my engine swap further along. I found one thread which describes a BOV (I already knew that info), and another that describes where the stock vacuum lines go.
However, I'm not finding info on how to hook up the vacuum port on the BOV. I know it needs to come after the